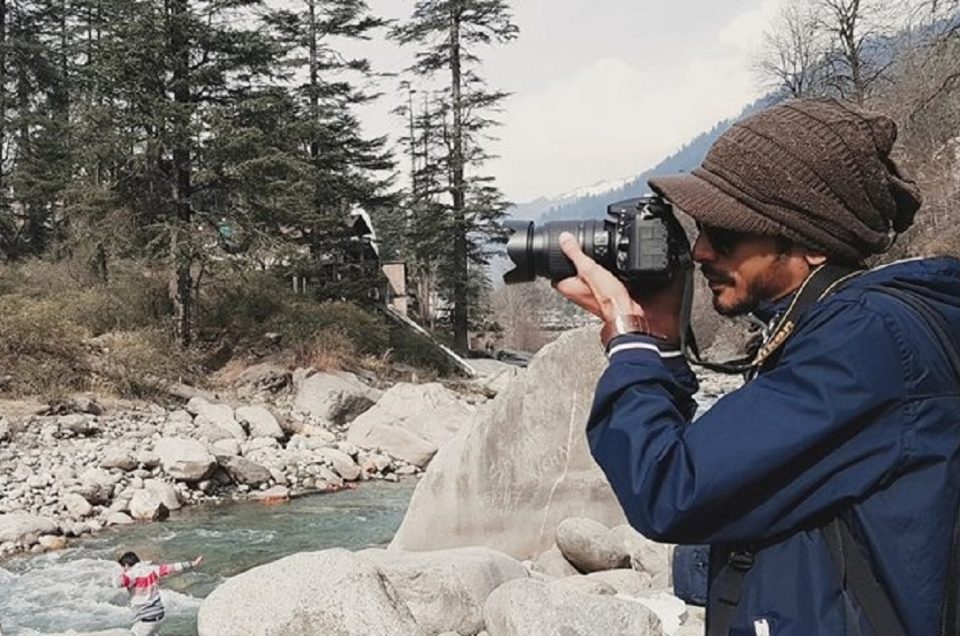
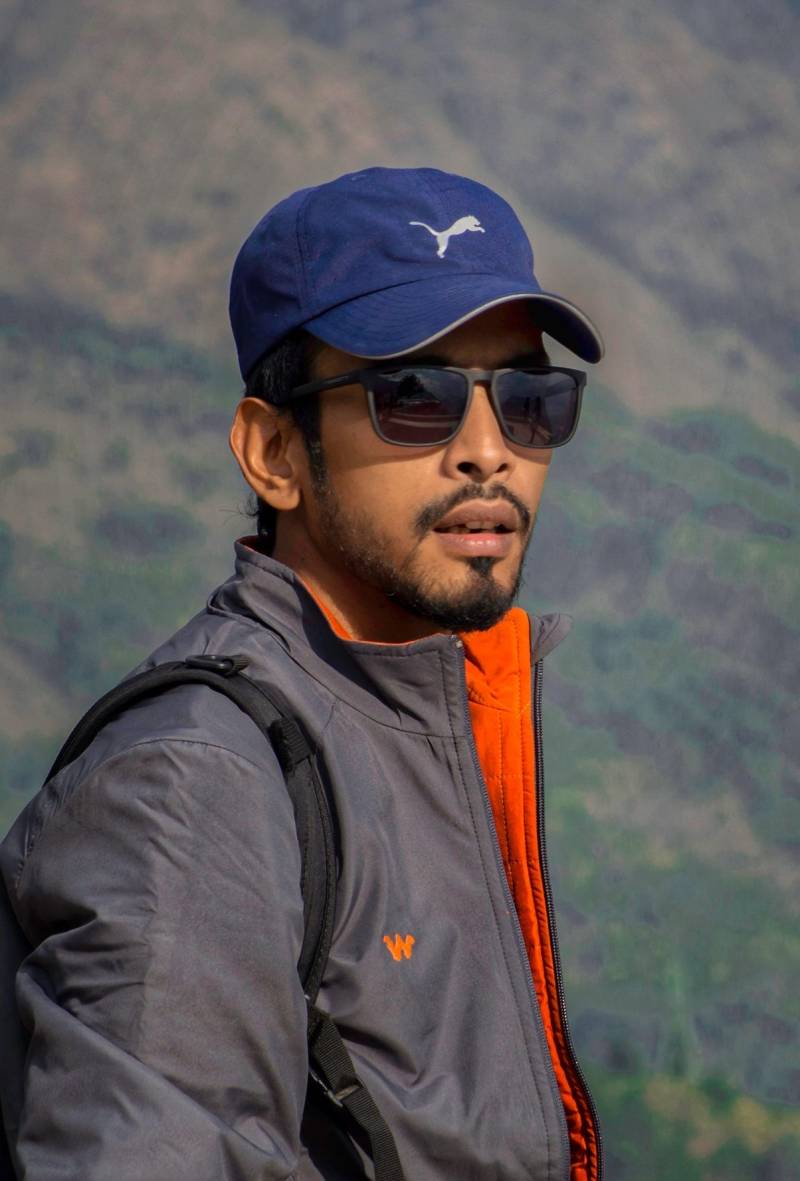
Each place we visit has its own particular look, character, and ambiance. If we want photographs of our travels to be good and lasting, they should capture all of these qualities, and say as much about a place as give the literal look of it. Looking for travel photography tips that will help take your photos to the next level? Then keep reading! I discuss my top tips from over the years…
1) Know Your Camera
Whether you shoot on a DSLR, mirrorless, smartphone or an old film unit, the first travel photography tip is to get to know your camera equipment. Whatever you have in your camera bag, take the time to read the instructions, play around with all the buttons and camera settings, and spend hours with it in your hand so that it becomes a part of you.
2) The Rule of Thirds
One of the most important rules of composition is known as the rule of thirds. The rule of thirds requires you to break an image into three equal parts either vertically, horizontally, or both. The goal is to place key compositional elements into those thirds. On your device, find the setting to enable a grid over the preview screen. Four lines will appear, two vertical and two horizontal. Placing subjects on the intersecting points will naturally draw the viewer’s eye to them, as these points are usually where we focus first in an image, and doing so is a great starting point for a good composition. The idea behind the theory is based on what our eyes naturally find pleasing, and it takes a while to get it right. But it’s also important to note, that the rule of thirds isn’t scientific and it doesn’t apply to EVERY shot. So don’t rely on it, especially if you think a photo looks better another way.
3) Leading Lines
When composing a photograph, you want to make it as easy as possible for the person looking at it to figure out the subject and focus of the image. One way to do this is with leading lines — the use of natural geography or other features that the viewer will naturally look at first and that will lead their eyes to the main subject.
4) Foreground, Midground, and Background
Have you ever taken a picture of a mountain or city skyline and then looked at it later and wondered why it doesn’t manage to convey the majesty of what you were looking at?
This is likely because your photograph is a two-dimensional image, and you have lost the sense of scale that is apparent when you are present and in the moment. When composing a shot — and this is particularly true for landscape photography — think about the different elements in the foreground, midground, and background of the shot.
5) Framing
This compositional technique isn’t about hanging a picture in a frame; it’s about using what’s around you to “frame” the subject you are trying to capture, illustrating to the viewer what the shot is of and drawing their eyes into the scene.
6) Focal Points
One way to be sure that people look at the part of the image you want them to look at is to have only that part sharp and in focus and the rest blurry.
This is particularly effective for isolating people or animals in shots — take a look at a wedding or sports photos of people, and you’ll see how often the subject of the shot is the only thing in focus.
I love shooting events with friends and family, and I find that this technique works really well at isolating the subject from a crowd and making it obvious who the photo is of. To start with, you can achieve this effect with the “portrait” or “people” mode on your camera.
7) Research Locations in Advance
Research Travel Destinations is absolutely essential for better travel photography. Without Research, you may never find the best views, the best architecture, and the best street scenes. You may not photograph attractions at the right time of day, either, which means that your photos won’t be as good as they can possibly be. do some thorough research on the internet. Everyone’s process is different, but you might consider looking at other photos captured at the location, articles discussing key photography spots or even satellite images on Google Earth. Make a list of all the key locations you want to photograph. Consider the position of the sun and how it will affect your opportunities. Determine whether each location is best visited at sunrise, sunset, or midday. And feel free to prepare a shot list for on-location use. When you arrive at your destination, consider walking to the local tourist information center. Ask the staff for any recommendations, as they’ve often spent a lot of time on the ground and have likely interacted with plenty of photographers. If you have the time and money, you might even ask whether there are any local guides or fellow photographers who can show you some of the best areas.
8) Wake Up Early & Catch Golden Hours
The early bird gets the worm. I’m sure you’ve heard that phrase. Well, it’s also very true for travel photography. Light is the most important ingredient for great photography — and soft, warm, morning light creates amazing images. Waking up early also means you’ll have to deal with fewer tourists and other photographers. Sunrise isn’t the only time to catch good light. Sunsets are also great. The hour after sunrise and the hour before sunset are nicknamed “golden hours” because of their soft, warm tones and eye-pleasing shadows. “Blue hour”, is the hour after sunset (or before sunrise) when the sky is still blue, but city lights are turned on. In comparison, shooting photos at noon on a bright sunny day is probably the absolute worst time for travel photography! In fact, sometimes I’ll just take a nap during the middle of the day so I have more energy for early morning and evening photography missions when the light is best.
9) Ask Local People for Permission
Travel photography isn’t all about capturing the most beautiful sunsets and gorgeous architecture around the world. Travel photography is also about the people you meet. But if you’re a bit shy like me, how do you get those amazing portrait photos without feeling rude? Asking someone for permission to take their photo is polite and respectful. If you have had a great encounter with someone, or you just see a great opportunity and want to capture a wonderful portrait, give them a big smile and ask if it’s ok to take their photo. You’ll find many people are more than happy to pose for a photo if you just ask (just make sure you respect them if they say no).
But what if you want to get a candid shot, with the subject looking natural?
There’s always another way to get these without annoying the person. Don’t make it obvious that you are taking their photo. Act natural and take lots of photos of the environment around them. You can also keep your camera down by your side and point the lens in their direction. If you have a zoom lens, use it. This was you can be on the other side of the street or market and still photograph the person.
10) Pack A Lightweight Travel Tripod
A tripod is one of the best camera accessories you can have in your camera bag, and really essential for travel photography. Tripods give you the ability to shoot much slower shutter speeds (waterfalls, low-light, stars, etc) without worrying about hand-held camera shake. You can keep your ISO low (for less sensor noise) and use smaller apertures, so more of the image is in focus. sharp landscapes, low-light photography, self-portraits, flowing water shots, and sunsets/sunrises, a travel tripod makes a huge difference.
11) Patience Is Everything
Photography is about really seeing what’s in front of you. Not just with your eyes, but with your heart & mind too. This requires dedicated time and attention. Slow down and make a conscious effort at becoming aware of your surroundings before pressing the shutter.
Pay attention to details. Are the clouds in an eye-pleasing spot? If not, will they look better in 15 minutes? Sit at a photogenic street corner and wait for a photogenic subject to pass by. Then wait some more, because you might get an even better shot. Or not. But if you don’t have the patience to try, you might miss a fantastic photo opportunity! Good photography takes time.
12) Shoot Manual Mode
You’d think that modern cameras are smart enough to take incredible pictures on their own, in AUTO mode. Well, that’s just not the case. While they do a pretty good job, if you want truly stunning images, you need to learn how to manually control your camera’s settings yourself.
13) Shoot RAW
when you take a photo on your digital camera, the computer chip inside it takes what you captured on the sensor and converts it into a format that can be easily read. For most cameras, these two formats are RAW and JPEG.
JPEG is a compressed format that the camera creates to save on space. In doing so it ‘locks in’ all the data that it picked up such as the color and white balance. RAW files actually save all the data of what you took and don’t compress it. Most decent digital cameras will give you the menu option of shooting in RAW, and I recommend you use it if you ever plan on editing your photos. Keep in mind that the file sizes will be a lot bigger (for example on one of our cameras a RAW is 42, while a JPEG is just 20), so you’ll need to have extra memory cards and external hard drive storage.
14) Storytelling
Remember that when you are taking a picture, you have all the background and surrounding knowledge of your trip in your mind. When you look at the image later, all of that will come back to you. We’re often told that a photograph is worth a thousand words. As a photographer, it’s your job to convey those words. Figure out how to tell that story with your image. Get the shots that pull your viewers into your stories. Use emotion, find and freeze moments, and incorporate the human element so your shots resonate with your viewers.
15) Learn About Post Processing
Some people think that editing your photo is ‘cheating’. But the truth is photographers have been editing their photos ever since photography was invented. 99% of photos you see in your favorite travel magazines have been edited. Every professional photographer edits their photos to some degree. The reason is that not all cameras are great at capturing exactly what the eye saw in terms of colour and light.
Once you get serious about travel photography, you should start playing around with post processing.
Travel photography may seem like hard work, but it’s a lot of fun, and it can be so rewarding. So remember these tips. And the next time you go on a vacation, you’ll be guaranteed to capture some stunning photos!


